

Simple Tips for Growing Collard Greens in Your Home
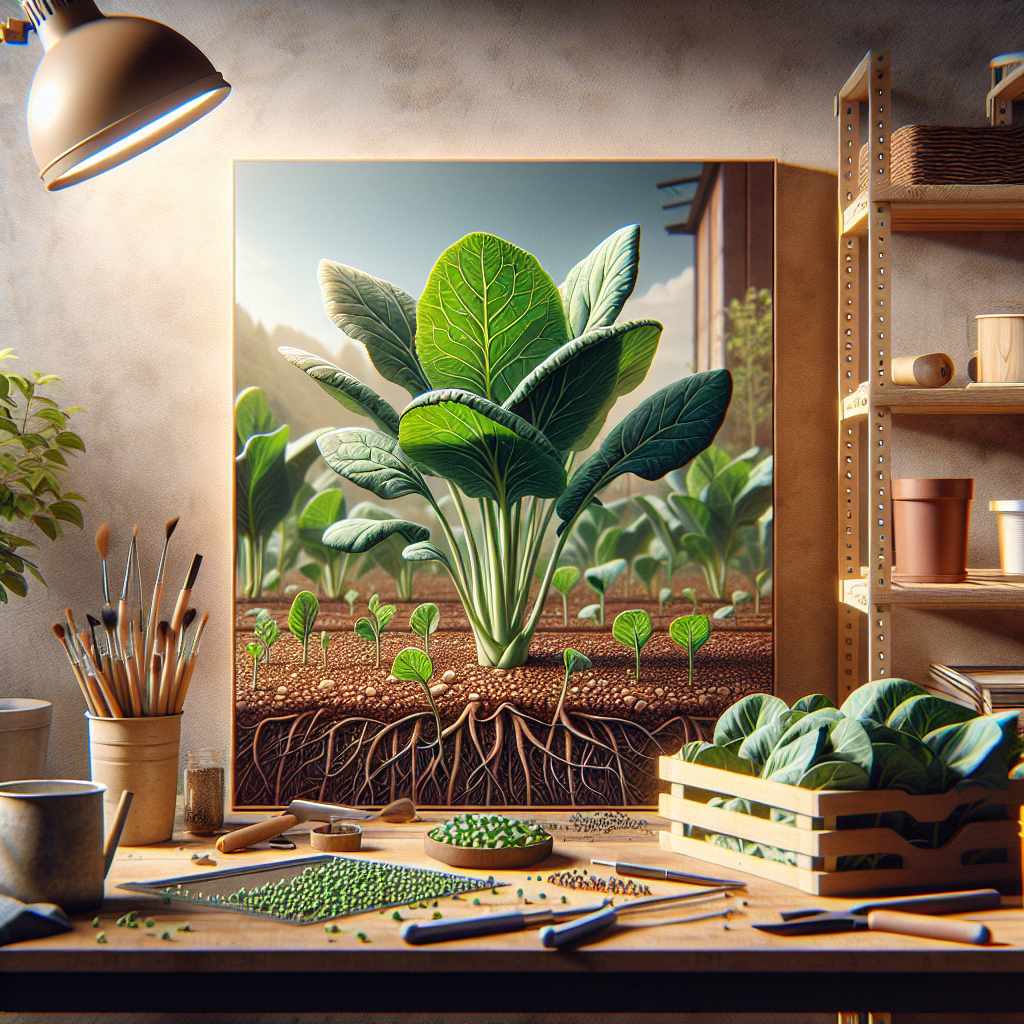
Collard greens are a nutritious and versatile leafy green vegetable that can be easily grown in your home. Whether you have a spacious garden or limited space on your balcony or windowsill, growing collard greens is a great way to ensure a fresh supply of this healthy vegetable for your meals. In this article, we will provide you with some simple tips to successfully grow collard greens right in the comfort of your own home.
1. Choose the Right Variety: Before you start growing collard greens, it’s important to choose the right variety. Some popular varieties include Georgia Southern, Vates, and Champion. Consider factors such as taste preference, size, and maturity days when selecting your variety.
2. Prepare the Soil: Collard greens thrive in well-drained soil rich in organic matter. Start by removing any weeds or debris from your chosen planting area. Loosen the soil using a garden fork or spade and mix in compost or well-rotted manure to improve fertility.
3. Sow Seeds or Transplants: Collard greens can be grown from seeds or transplants depending on your preference and availability. If you choose to sow seeds directly into the ground, plant them about 1/4 inch deep and 18-24 inches apart. If using transplants, dig holes slightly larger than the root ball of each plant and carefully place them into the holes.
4. Watering: Proper watering is essential for healthy collard green plants. They require consistent moisture to flourish but be careful not to overwater as excessive moisture can lead to disease issues. Water deeply once or twice a week, ensuring the soil remains consistently moist but not waterlogged.
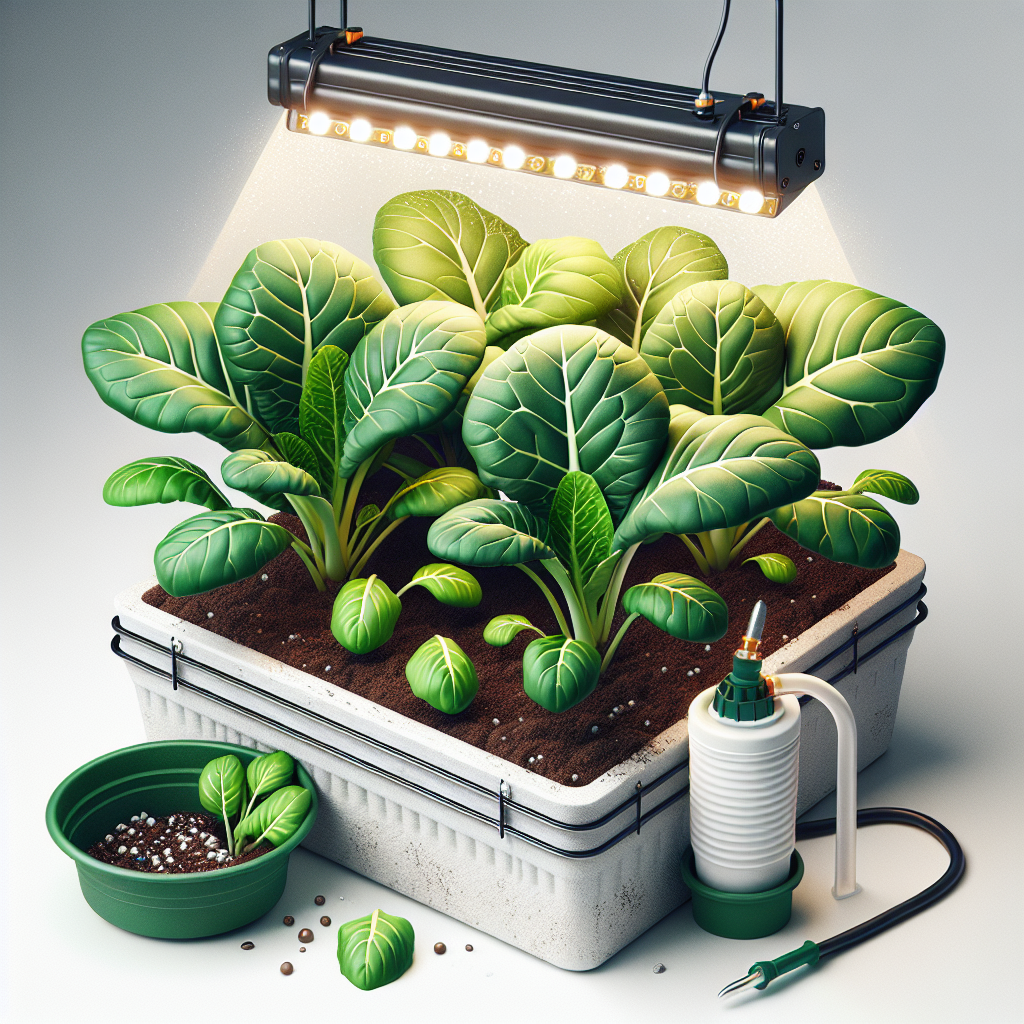
5. Provide Adequate Sunlight: Collard greens thrive in full sun conditions but can tolerate some shade as well. Ensure that your plants receive at least 6 hours of direct sunlight each day. If growing indoors, place them near a sunny window or use grow lights to provide sufficient light.
6. Fertilize Regularly: Collard greens are heavy feeders and require regular fertilization to ensure robust growth. Apply a balanced organic fertilizer every 4-6 weeks or use slow-release granular fertilizers following the package instructions. Additionally, consider supplementing with foliar sprays of liquid seaweed or fish emulsion to provide extra nutrients.
7. Control Pests and Diseases: Collard greens can be susceptible to pests such as aphids, cabbage worms, and flea beetles. Keep an eye out for any signs of pest activity and address them promptly using organic remedies such as insecticidal soap or neem oil. To prevent diseases, ensure good air circulation around the plants by spacing them properly and remove any diseased leaves immediately.
8. Harvesting: Collard greens are ready for harvest when the outer leaves reach about 10-12 inches in length. Pick leaves from the bottom of the plant first, allowing younger leaves in the center to continue growing. Harvesting regularly promotes new growth and prolongs the harvest season.
9. Storage and Consumption: Once harvested, collard greens can be stored in plastic bags in the refrigerator for up to a week. Before consuming, wash the leaves thoroughly under running water to remove any dirt or debris. Collard greens can be enjoyed raw in salads, sautéed with garlic and olive oil, or added to soups and stews for added flavor and nutrition.
In conclusion, growing collard greens at home is an excellent way to have a fresh supply of this nutrient-packed vegetable all year round. By following these simple tips on variety selection, soil preparation, watering, sunlight exposure, fertilization, pest control, harvesting, storage, and consumption—you can easily cultivate your own delicious collard greens right in your own home garden or container setup. Happy gardening and bon appétit!


