

Mastering the Art of Growing Endive in Your Own Home
Endive, also known as chicory, is a versatile and nutritious leafy vegetable that can be grown easily in your own home. With its delicate taste and crisp texture, endive makes a delicious addition to salads, stir-fries, and other dishes. By mastering the art of growing endive, you can ensure a fresh supply of this delicious vegetable right at your fingertips. In this article, we will guide you through the process of growing endive in your own home.
Choosing the Right Variety:
There are two main types of endive: curly endive (frisée) and Belgian endive (witloof). Each has its distinct characteristics and growing requirements. Curly endive has frizzy leaves with a slightly bitter taste, while Belgian endive grows in tight heads and has a milder flavor.
Before starting your endive-growing journey, it is essential to choose the variety that suits your preferences and growing conditions best. Consider factors such as taste preference, available space, light exposure, and temperature fluctuations when selecting the right type for your home garden.
Preparing the Soil:
Endive thrives in well-drained soil with organic matter. Prepare the soil by removing any weeds or debris and breaking up clumps to create a loose texture that allows for proper root development.
To enrich the soil with nutrients essential for healthy growth, consider adding compost or well-rotted manure. This will help improve soil fertility and retain moisture necessary for successful endive cultivation.
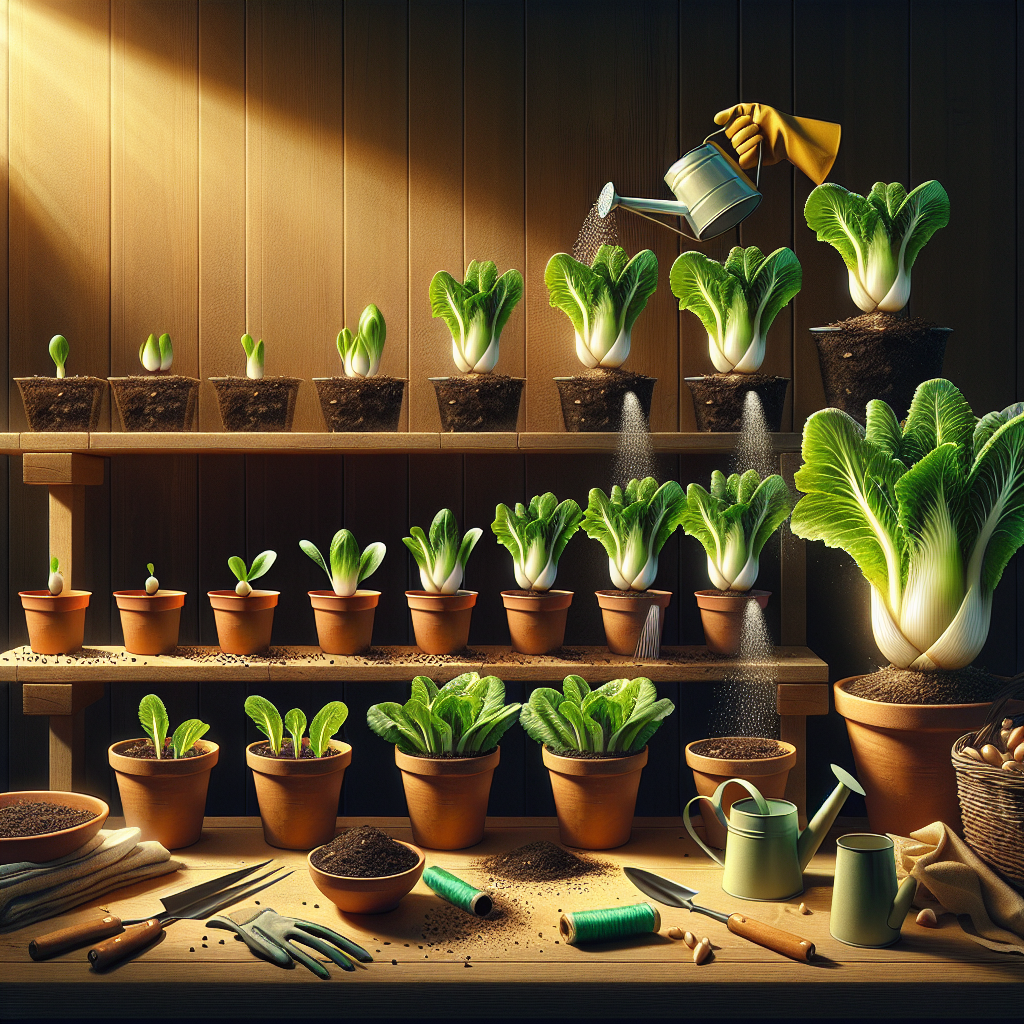
Starting Seeds Indoors:
To get an early start on growing endives, begin by starting seeds indoors during late winter or early spring. Fill seedling trays with a good-quality seed-starting mix and lightly press down to level out the surface.
Sow seeds thinly on top of the soil mix without covering them completely. Lightly water the tray to moisten the seeds without creating a drenched environment. Place the trays in a warm, well-lit area, preferably near a south-facing window or under fluorescent lights.
Maintain consistent moisture by misting the seeds with water whenever the soil feels dry. Within a week or so, you will see tiny seedlings emerging from the soil.
Transplanting and Outdoor Care:
After the danger of frost has passed and when the seedlings have developed their first true leaves, it’s time to transplant them outdoors. Choose a location with full sun exposure or partial shade, depending on your region’s climate.
Prepare the planting area by loosening the soil and removing any weeds or rocks. Dig small holes for each seedling, ensuring they are spaced about 6-8 inches apart to allow adequate room for growth.
Gently remove each seedling from its tray, handling it by its leaves to avoid damaging the delicate root system. Place the seedling in its designated hole, making sure to cover it with soil up to its original planting level.
To encourage healthy growth and prevent weeds from competing with your endive plants for nutrients, mulch around the base of each plant using organic materials like straw or wood chips. This will also help retain moisture in the soil during hot summer months.
Watering and Fertilizing:
Endive requires consistent moisture to grow properly without becoming overly bitter or tough. Keep the soil evenly moist but not saturated throughout the growing period. Water deeply at least once a week, making sure not to wet the leaves excessively as this can lead to rotting or fungal diseases.
Fertilize your endive plants every three weeks using a balanced liquid fertilizer or by incorporating slow-release granules into the soil at planting time. This will ensure they receive an adequate amount of nutrients necessary for vigorous growth and abundant leaf production.
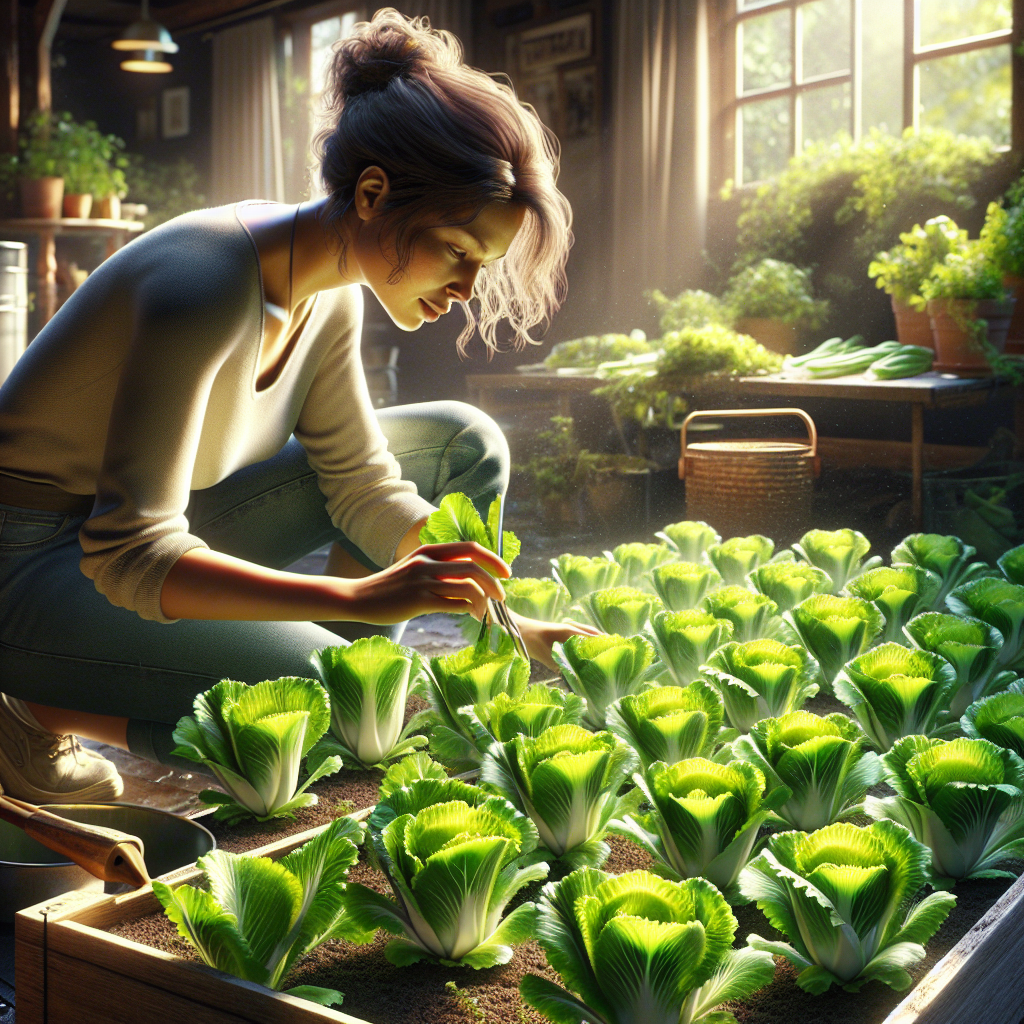
Harvesting and Storing:
The timing of endive harvest depends on whether you are growing curly endive or Belgian endive. Curly endive can be harvested when the leaves are of desirable size, typically around 70-90 days after planting. Simply cut the outer leaves, leaving the inner ones for continued growth.
Belgian endive, on the other hand, requires a different approach. About three weeks before harvesting, cut off the tops of the plants and dig out the roots. Trim any remaining roots and place them in a container filled with moist sand or potting mix. Store it in a cool, dark place for about two to three weeks to allow for blanching.
During this time, small chicons will grow from the roots in complete darkness and can be harvested by cutting them at ground level when they reach 4-6 inches in height. Rinse them thoroughly before using to remove any excess dirt or sand.
Conclusion:
Growing endive in your own home garden can be a rewarding experience that allows you to enjoy this nutritious vegetable at its freshest. By following these guidelines and mastering the art of endive cultivation, you can ensure a bountiful harvest of crisp and delicious endive leaves right at your fingertips. With patience, dedication, and proper care, you’ll be able to savor the fruits of your labor throughout the growing season.


