

Setting up a slow drip watering system for pots can be a game-changer for plant enthusiasts who want to ensure their green babies are well-hydrated even when they’re not around. This method is not only convenient but also helps prevent over-watering and underwatering, which can be detrimental to the health of your plants. In this comprehensive guide, you will learn everything you need to know about how to set up a slow drip watering system for pots, so you can sit back, relax, and watch your plants flourish.
First things first, let’s talk about what a slow drip watering system actually is. Essentially, it’s a method of delivering water to your plants slowly and consistently over an extended period of time. This ensures that the soil remains evenly moist without becoming waterlogged. This is particularly beneficial for potted plants as it mimics the natural watering patterns they would experience in their native environment. Now that you understand the basics, let’s dive into the nitty-gritty details of how to set up this system for your beloved plants.
**Choosing the Right Equipment**
The first step in setting up a slow drip watering system for your pots is to gather all the necessary equipment. You’ll need a few key items including a timer, tubing, drippers or emitters, stakes or clips, and possibly a pressure regulator if your water pressure is too high. When selecting tubing, make sure it’s the right size for your pots and that it’s made of durable materials that won’t degrade over time. Drippers or emitters come in various flow rates so choose ones that are appropriate for the needs of your plants – some may require more water than others. Stakes or clips are essential for securing the tubing in place and ensuring that water is delivered directly to the root zone of each plant rather than just pooling on the surface.
**Setting Up the System**
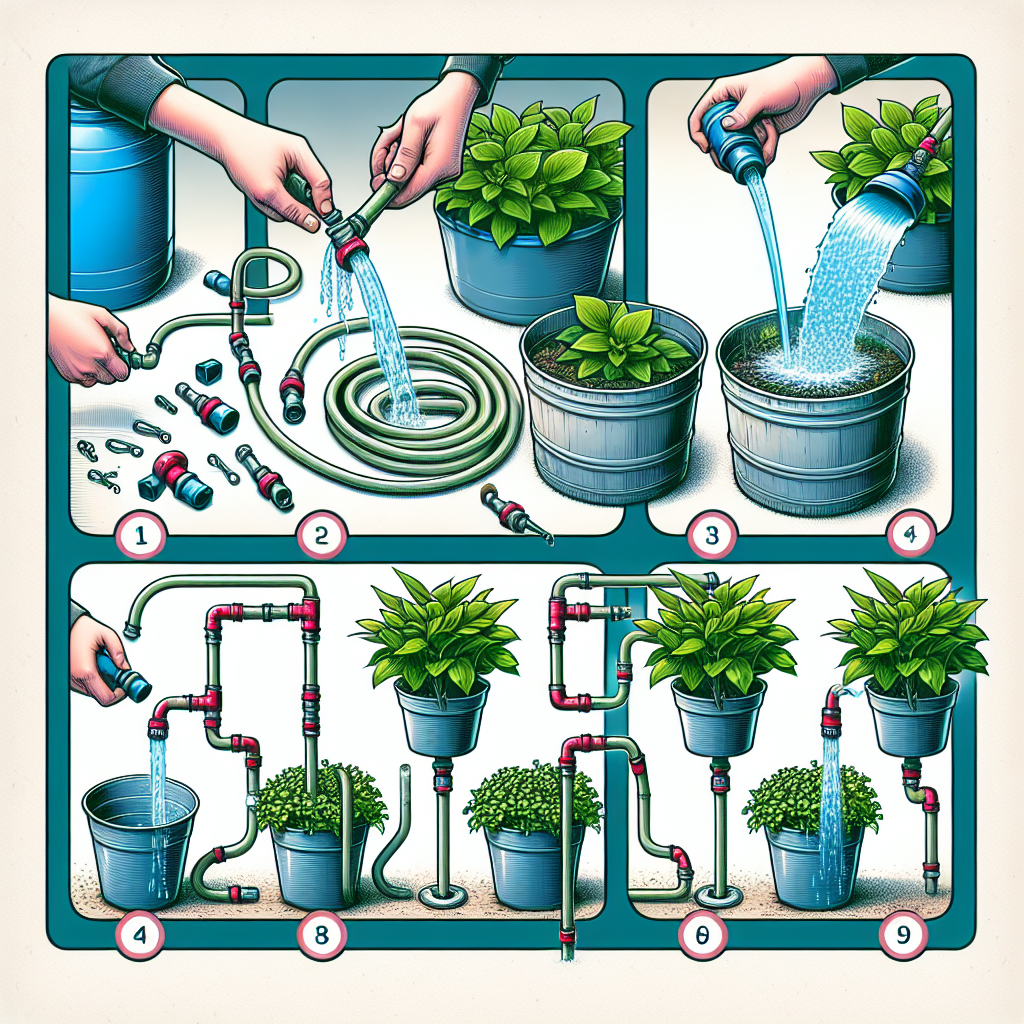
Once you have all your equipment gathered, it’s time to start setting up your slow drip watering system. Begin by attaching one end of the tubing to your outdoor faucet or hose bib using an appropriate connector. Then run the tubing along each row of pots, securing it in place with stakes or clips as needed. Make sure there are no kinks or bends in the tubing that could impede water flow. Next, install drippers or emitters at each pot according to the needs of your plants – some may require multiple drippers while others only need one.
After installing drippers at each pot, adjust their flow rate if necessary by turning the dial on each one until you achieve the desired output. Test run your system by turning on the faucet briefly to ensure that water is flowing properly through all drippers and reaching each plant evenly. Make any adjustments as needed before setting up your timer.
**Installing a Timer**
A timer is an essential component of any slow drip watering system as it allows you to automate the watering schedule for your plants. Simply set the timer according to how often and how long you want water delivered to each pot – this will depend on factors such as plant type, weather conditions, and soil moisture levels. Keep in mind that during hot weather or dry spells, you may need to increase watering frequency while reducing it during cooler months or rainy periods.
Before attaching your timer to the outdoor faucet or hose bib, make sure it’s programmed correctly and synced with the current time – most timers have user-friendly interfaces for easy setup. Once connected, test run your system again with the timer activated this time to ensure everything is working smoothly and adjust settings as needed.
**Maintaining Your System**
Congratulations! You’ve successfully set up a slow drip watering system for your pots but don’t pack away those tools just yet – regular maintenance is key to ensuring its longevity and efficiency. Check on your system periodically to make sure all components are functioning correctly including timers, tubing connections, drippers/emitters, and stakes/clips.
Inspect plants regularly as well as they may indicate whether they’re receiving enough water based on their appearance – wilting leaves could signal dehydration while yellowing leaves might mean over-watering. Adjust flow rates on individual drippers if necessary especially if some plants are thriving more than others or showing signs of stress.
In addition to monitoring plant health and adjusting settings accordingly, consider flushing out residual minerals from tubing periodically by running clean water through them – this will prevent clogs and blockages which can disrupt water flow altogether.
**FAQs**
Q: Can I use a slow drip watering system indoors?
A: Yes! Slow drip systems can be adapted for indoor use but make sure there’s proper drainage in place so excess water doesn’t accumulate causing root rot.
Q: How often should I water with a slow drip system?
A: The frequency will depend on several factors such as plant type and environmental conditions but generally aim for consistent moisture levels without saturating soil.
Q: Do I need special tools or skills?
A: Not necessarily! Setting up a basic slow drip system requires minimal tools such as scissors (for cutting tubing) and hands-on skills like connecting components together.
In conclusion setting up a slow drip watering system doesn’t have to be complicated; follow these steps outlined above starting from choosing equipment all through maintaining ypur created masterpiece ensuring healthy happy potted pals!


