

Setting up a home-based slow drip irrigation system is a fantastic way to ensure your plants receive consistent and efficient watering without wasting water. Whether you are growing vegetables, flowers, or herbs, a slow drip irrigation system can help you save time, money, and resources while keeping your plants healthy and thriving. From choosing the right materials to setting up the system correctly, this A-Z guide will walk you through the process of creating your very own slow drip irrigation system for your home garden.
Before diving into the specifics of setting up a slow drip irrigation system, it’s important to understand what exactly it is and how it works. Unlike traditional watering methods like sprinklers or hand watering, a slow drip irrigation system delivers water directly to the roots of plants at a slow and steady pace. This targeted approach allows plants to absorb water more efficiently and reduces the risk of evaporation and runoff. By minimizing water waste and ensuring that each plant receives just the right amount of moisture, a slow drip irrigation system can help you achieve healthier plants with less effort.
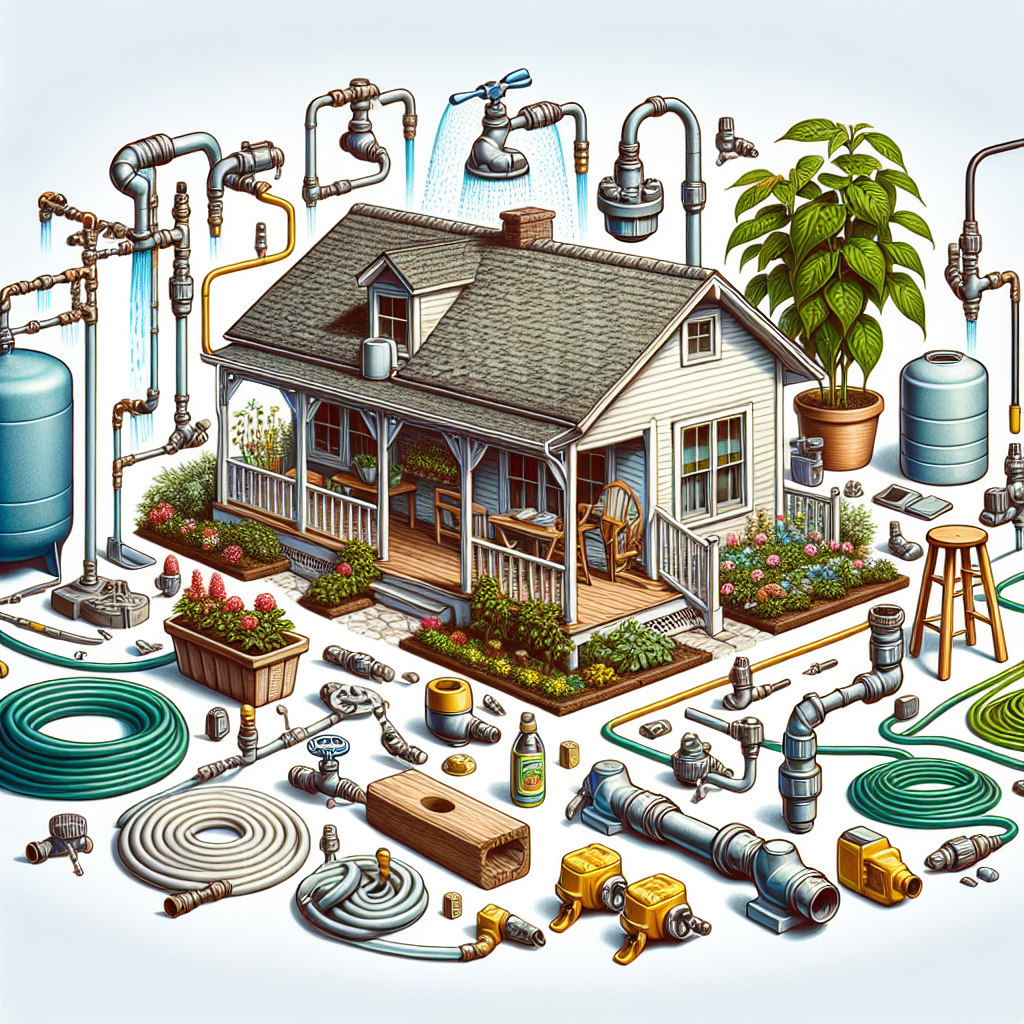
**Choosing the Right Materials**
When setting up a home-based slow drip irrigation system, it’s essential to choose high-quality materials that are durable and reliable. Some key components you’ll need include:
1. **Water Source**: Decide whether you’ll be using a hose connected to an outdoor faucet or a rain barrel as your main water source.
2. **Tubing**: Select durable tubing that is flexible but sturdy enough to withstand changes in weather conditions.
3. **Emitters**: Choose emitters that deliver water at a slow rate to ensure even watering for all plants.
4. **Filters**: Install filters to prevent clogs caused by debris in your water source.
5. **Connectors**: Use connectors to link different sections of tubing together for a seamless irrigation system.
**Planning Your Irrigation Layout**
Before installing your slow drip irrigation system, take some time to plan out your layout based on the specific needs of your garden. Consider factors such as:
1. **Plant Spacing**: Determine how far apart each plant is located to ensure proper coverage with your emitters.
2. **Water Requirements**: Take into account the varying water needs of different plant types when planning your layout.
3 .**Slope**: Consider any natural slopes in your garden and adjust positioning accordingly to ensure proper water distribution.
**Installing Your System**
Once you have chosen the right materials and mapped out your layout, it’s time to install your slow drip irrigation system following these steps:
1 .**Cutting Tubing**: Use sharp scissors or a tubing cutter to cut tubing into appropriate lengths for each section of your garden.
2 .**Attaching Emitters**: Install emitters at strategic points along the tubing based on plant spacing and water requirements.
3 .**Connecting Tubing**: Use connectors to join sections of tubing together, creating a seamless network for water flow.
4 .**Securing Tubing**: Use stakes or clips to secure tubing in place and prevent movement due to wind or other factors.
Keep in mind that regular maintenance is essential for keeping your slow drip irrigation system running smoothly. Check for clogs in emitters or filters, adjust watering schedules as needed based on weather conditions, and be on the lookout for any leaks or damage that may occur over time.
In conclusion, setting up a home-based slow drip irrigation system can be a game-changer for home gardeners looking to save time, money, and resources while promoting healthy plant growth. By choosing the right materials, planning out your layout carefully, and following proper installation techniques, you can create an efficient watering system that benefits both your plants and the environment.
—
**FAQs**
1 .What are the benefits of using a slow drip irrigation system?
A: Slow drip irrigation systems deliver water directly where it’s needed most – at the roots of plants – reducing waste through evaporation and runoff while promoting healthier plant growth.
2 .How do I know if my plants are getting enough water from my slow drip irrigation system?
A: Monitor soil moisture levels regularly by checking how damp the soil feels around plant roots. Adjust watering schedules as needed based on weather conditions and plant response.
3 .Can I use a timer with my home-based slow drip irrigation system?
A: Yes! Using an automatic timer can help you set customized watering schedules based on specific plant needs without having to manually turn on/off the system every day.
4 .What should I do if I notice leaks in my tubing?
A: Identify leaky sections by inspecting tubing connections closely. Replace damaged parts as needed using new connectors or repair tape designed specifically for use with irrigation systems.
5 .How often should I clean my emitters and filters?
A: Clean emitters regularly by soaking them in vinegar solution every few months to remove mineral buildup that can cause clogs. Check filters often after heavy rainfall or periods of high debris accumulation.
By addressing these common questions and concerns about setting up a home-based slow drip irrigation system effectively with this comprehensive guide provided above , readers should feel confident embarking on this eco-friendly gardening journey!


