

Juniper plants are a popular choice for container gardening due to their low maintenance and versatility. They are hardy, drought-resistant, and come in a variety of shapes and sizes, making them ideal for adding a touch of greenery to any space. Repotting juniper plants is an essential task to ensure they continue to thrive and grow healthily. In this article, we will discuss some tips for successfully repotting juniper plants in containers.
Why Repot Juniper Plants?
Juniper plants, like all other plants, eventually outgrow their containers. As they grow larger, their roots can become root-bound, meaning they have no more room to spread out and take up essential nutrients from the soil. When this happens, the plant’s growth can become stunted, and it may start showing signs of stress like wilting leaves or poor overall health.
Repotting juniper plants allows you to provide them with fresh soil and more space to grow. It also gives you the opportunity to inspect the plant’s roots for any signs of disease or pests and address them accordingly. Additionally, repotting allows you to refresh the soil, which can become depleted of nutrients over time.
When to Repot Juniper Plants
The best time to repot juniper plants is in the spring when they are actively growing. Spring is considered the ideal time as it allows the plant enough time to recover from any shock caused by repotting before entering its dormant period in winter. However, if your juniper plant is showing signs of stress due to being root-bound or if its growth has slowed down significantly, you can repot it at any time during the growing season.
Signs that your juniper plant needs repotting include roots growing out of drainage holes at the bottom of the container, slow growth or lack of new growth despite adequate care, or roots circling around inside the pot.
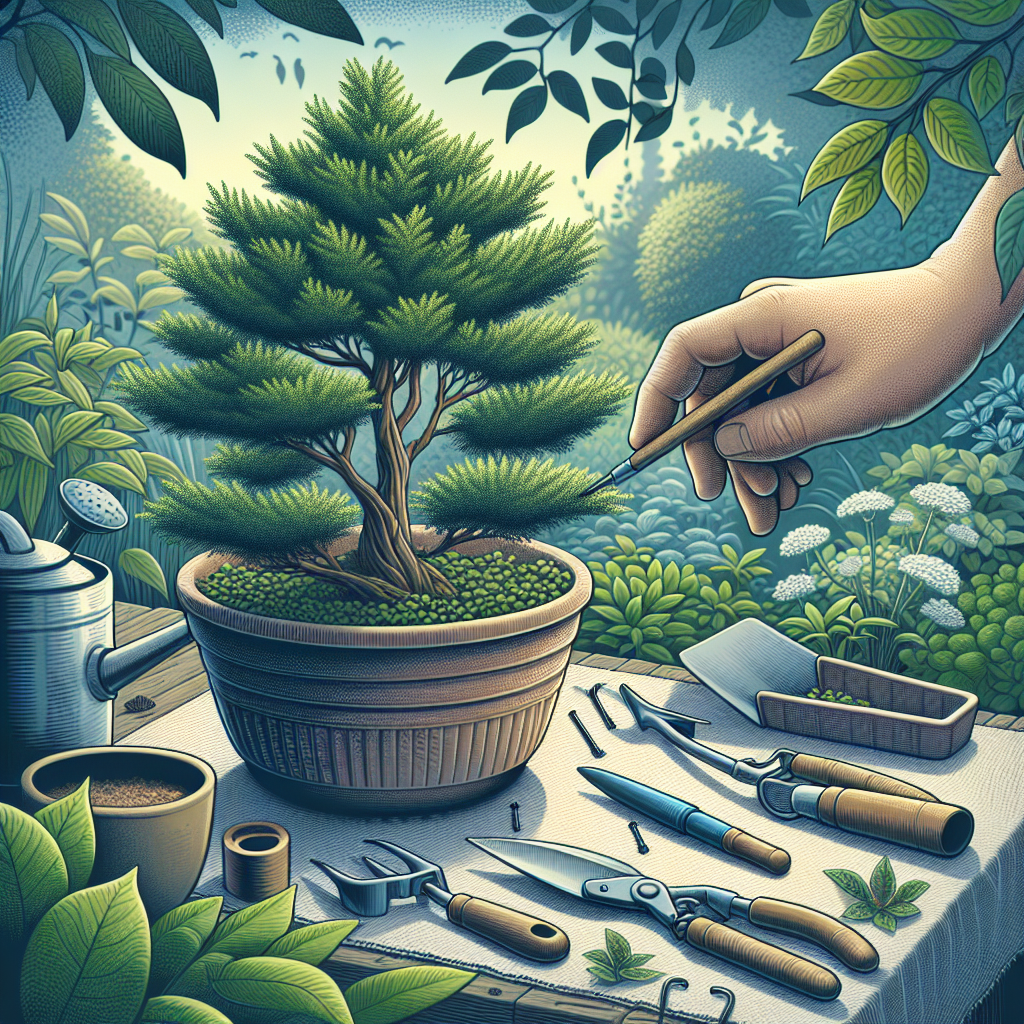
Materials Needed for Repotting
Before repotting your juniper plant, gather all necessary materials:
– A new container: Choose a pot that is slightly larger than the current one but not too big as this can lead to overwatering issues.
– Fresh potting mix: Use a well-draining mix specifically formulated for cacti and succulents or make your own by combining equal parts peat moss or coconut coir, perlite or coarse sand, and pine bark fines.
– Pruning shears or scissors: To trim any dead or damaged roots.
– Root hook or chopstick: To gently loosen root ball before repotting
– Watering can: To water newly potted plant thoroughly
– Optional: gloves and eye protection
Steps for Repotting Juniper Plants
1. Water your juniper plant thoroughly a day before repotting. This will help soften the soil and make it easier to remove from the old container.
2. Gently remove the plant from its current container by tipping it on its side and tapping on the bottom until it slides out. If necessary, use a knife or scissors to cut through any roots that are stuck at the bottom.
3. Examine the roots carefully for any signs of disease or pests such as rot or mealybugs. Trim away any dead or damaged roots using pruning shears.
4. Loosen up the root ball using a root hook or chopstick by gently combing through the dense root system. This will encourage new root growth once transferred into a new pot.
5. Add a layer of fresh potting mix at the bottom of the new container before placing your juniper plant in it. Make sure that the top of the root ball sits slightly below the rim of the pot.
6. Fill in with more potting mix around all sides until it reaches just below rim level so there’s still room left for watering without overflowing
7 .Gently pat down on topsoil around base but avoid packing soil too tightly as this can restrict air circulation around roots leading them being suffocated
8 .Water newly potted plan thoroughly until water starts seeping through drainage holes at bottom . Allow excess water drain out completely .
9 .Place Junipers in dappled sunlight for few days after replanting allowing acclimate setting permanent position indoors outdoors full sun exposure
Tips for Successful Repotting
1 .Choose right size container based size mature Plant choose Pot slightly larger current One allow room enough Growth without becoming too oversized which could lead problems overwatering
2 Use well draining soil mixture specifically formulated cacti succulents provide adequate drainage Prevent Root Rot sitting water
3 Water newly planted Junipers immediately after Replanting encourage healthy root growth facilitate establishment
4 Position Junipers dappled sunlight few days replanting shading direct sun acclimating prevent stress shock transitioning new environment
5 Monitor Plant regular basis ensure remains healthy thriving regular watering fertilizing necessary prune dead diseased branches
In conclusion when basic principles proper planning consideration given individual species requirements junipers thrive containers long periods adding beauty vibrancy home garden patio outdoor space Consider following aforementioned tips successfully repotted suitable conditions providing necessary care maintenance ensure continuous success vibrant lush foliage happy healthy evergreen presence wherever placed


