
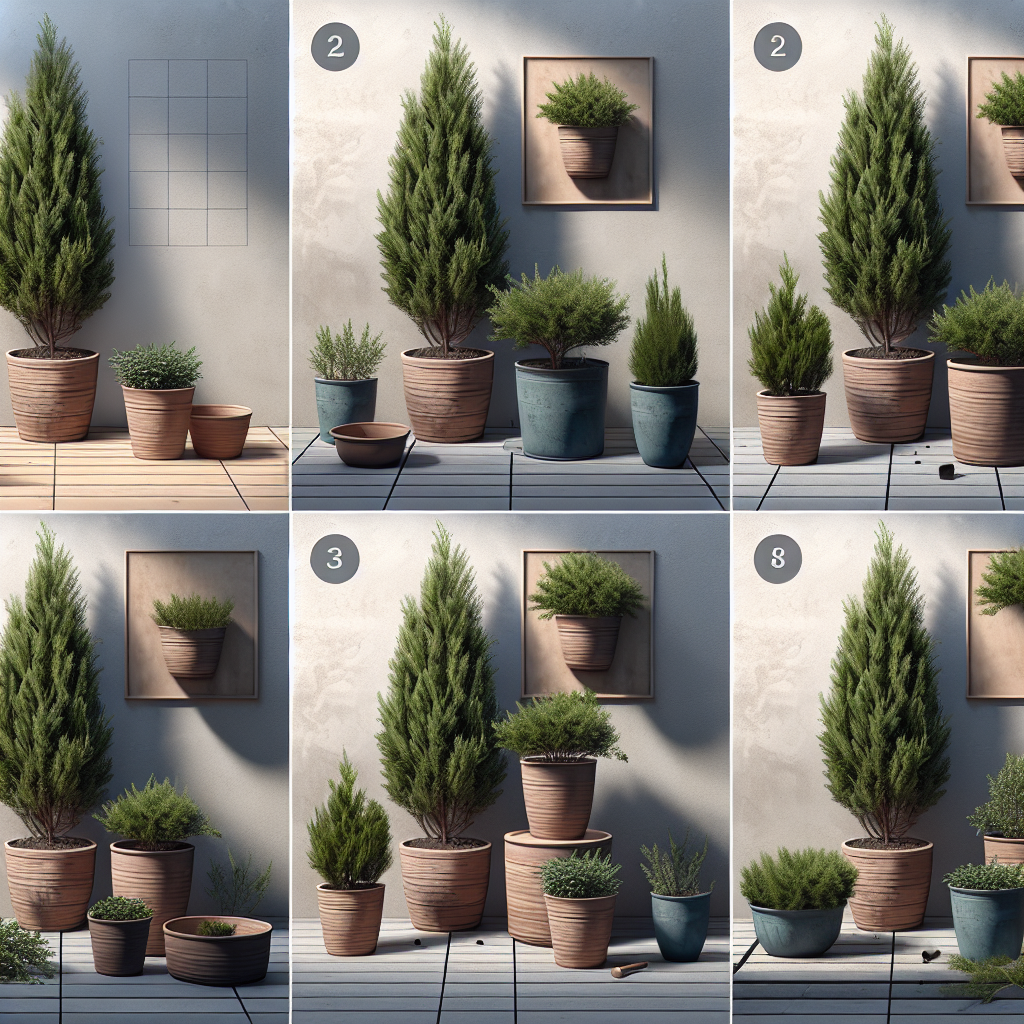

Transform Your Patio with Junipers in Pots: A Step-by-Step Guide
Having a patio is one of the greatest joys of homeownership. It offers a place to relax, entertain, and enjoy the beauty of the outdoors. One way to enhance your patio space is by adding plants, and junipers in pots are a great choice. Junipers are versatile, low-maintenance plants that add a touch of greenery and interest to any outdoor space. In this article, we will provide you with a step-by-step guide on how to transform your patio with junipers in pots.
Step 1: Choose the Right Juniper Variety
There are many different varieties of junipers to choose from, so it’s important to select the one that best suits your patio space. Some popular options include Blue Point Juniper, Skyrocket Juniper, and Gold Coast Juniper. Consider factors such as size, growth habit, and color when making your selection.
Step 2: Select the Right Pot
Choosing the right pot for your junipers is essential for their health and growth. Make sure the pot has good drainage holes at the bottom to prevent waterlogging. The size of the pot should be large enough to accommodate the juniper’s root system and allow room for growth. Opt for a lightweight material like fiberglass or resin if you plan on moving the pots around frequently.
Step 3: Prepare the Potting Mix
Junipers thrive in well-draining soil mixtures. Prepare a potting mix using equal parts peat moss, perlite, and pine bark mulch. This mixture will ensure good drainage while providing nutrients for healthy growth.
Step 4: Planting Your Junipers
Before planting your junipers in pots, ensure that they are well-watered and healthy. Fill the pot with potting mix until it reaches about two inches from the top. Gently remove the juniper from its nursery container and place it in the center of the pot. Fill in any gaps with more potting mix and gently pat down to secure the plant in place.
Step 5: Watering and Care
After planting your junipers in pots, water them thoroughly until water runs out through the drainage holes. Keep an eye on their watering needs as they prefer slightly moist soil but can tolerate dry conditions once established. Fertilize your junipers once a year with a balanced slow-release fertilizer to promote healthy growth.
Step 6: Placement on Your Patio
Once your junipers are planted and cared for, it’s time to place them on your patio. Choose a spot that receives full sun for at least six hours a day as junipers thrive in bright light conditions. Grouping multiple pots together can create an attractive focal point on your patio while providing privacy if needed.
Step 7: Pruning and Maintenance
Regular pruning is essential to maintain the shape and size of your juniper plants. Prune any dead or diseased branches using sharp pruning shears to encourage new growth. Remove any weeds or debris from around the base of the plant regularly to prevent pests and disease.
In conclusion, transforming your patio with junipers in pots is a rewarding project that can enhance both the beauty and functionality of your outdoor space. By following this step-by-step guide, you can create a lush green oasis right outside your door that will bring you joy for years to come. So why wait? Start transforming your patio today with beautiful junipers in pots!


