Title: DIY Slow Drip Irrigation System for Balcony Gardeners
Introduction
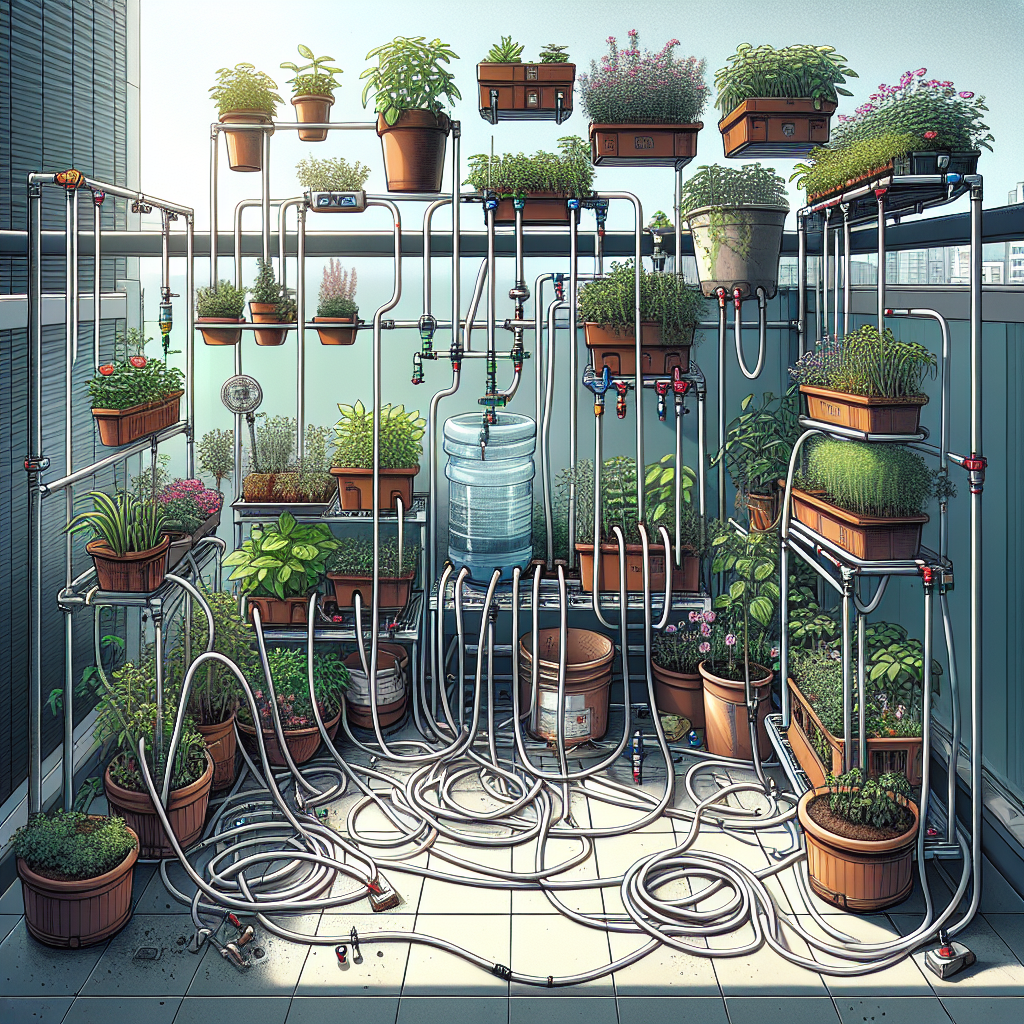
Balcony gardening can be a fun and rewarding way to cultivate your own fruits, vegetables, and flowers in a limited space. However, one of the biggest challenges faced by balcony gardeners is ensuring that their plants receive an adequate amount of water. Watering by hand can be time-consuming, and it’s easy to forget or overwater your plants. To solve this problem, many balcony gardeners turn to drip irrigation systems. These systems deliver water directly to the plant’s roots, ensuring that they receive a consistent amount of water without wasting any.
In this article, we will discuss how you can create your own DIY slow drip irrigation system for your balcony garden. This system is easy to set up and requires minimal maintenance, making it the perfect solution for busy gardeners.
Materials Needed
Before we get started, let’s gather all the materials needed for our DIY slow drip irrigation system:
– A plastic container (such as a milk jug or soda bottle)
– Scissors
– Tape (duct tape or electrical tape)
– Bamboo skewers or straws
– Drill with small drill bit
– Hose connector
– Hose
– Water timer (optional)
Step 1: Prepare the Container
The first step in creating your slow drip irrigation system is to prepare the container that will hold the water. Take your plastic container and using scissors, cut off the top portion of the container. Make sure that you leave enough space at the bottom of the container to hold an adequate amount of water.
Step 2: Create Holes in the Container
Next, using a drill with a small drill bit, carefully create holes in the bottom of the container. These holes will allow water to slowly drip out and reach your plants’ roots. Be sure to space out the holes evenly across the bottom of the container.
Step 3: Attach Bamboo Skewers or Straws
Now it’s time to attach bamboo skewers or straws to each hole in the container. This will help direct the water flow towards your plants’ roots. Simply insert one end of a bamboo skewer or straw into each hole so that it extends into your plant’s soil.
Step 4: Connect Your Hose
Next, attach a hose connector to one end of your hose and connect it to your plastic container. Make sure that it is securely attached so that no water leaks out.
Step 5: Set Up Your System
Place your plastic container on a raised surface near your plants so that gravity can help distribute the water evenly. You can also use a water timer to program when and how long you want your slow drip irrigation system to run.
Benefits of Slow Drip Irrigation Systems for Balcony Gardeners
There are several benefits to using a DIY slow drip irrigation system for your balcony garden:
1. Conserves Water:
Slow drip irrigation systems deliver water directly to plant roots, minimizing evaporation and reducing wastage compared to traditional watering methods.
2. Saves Time:
Once set up, slow drip irrigation systems require minimal maintenance and can be left unattended for days at a time. This saves you time from having to manually water your plants every day.
3. Promotes Healthy Plants:
By delivering water directly to plant roots at a slow pace, slow drip irrigation systems help prevent overwatering and reduce fungal diseases caused by wet foliage.
4. Customizable:
You can easily adjust the flow rate by adding more holes or changing the size of existing ones in your plastic container based on how much water your plants need.
Conclusion
In conclusion, setting up a DIY slow drip irrigation system for balcony gardeners is an effective way to ensure that your plants receive adequate hydration without wasting any water. By following these simple steps and using readily available materials, you can create an efficient watering system that will help you maintain healthy and thriving plants on your balcony all year round.
So why not give it a try today? Your plants will thank you!


