

If you’re a plant enthusiast, you know how important it is to provide your potted plants with the right amount of water. Overwatering or underwatering can lead to stunted growth, root rot, and even death for your precious plants. One effective way to ensure your plants get the perfect amount of water is by setting up a slow drip watering system. This system allows water to slowly seep into the soil, providing plants with a consistent and controlled supply of moisture. In this article, we will discuss how you can easily set up a slow drip watering system for your potted plants.
1. Choose the Right Equipment
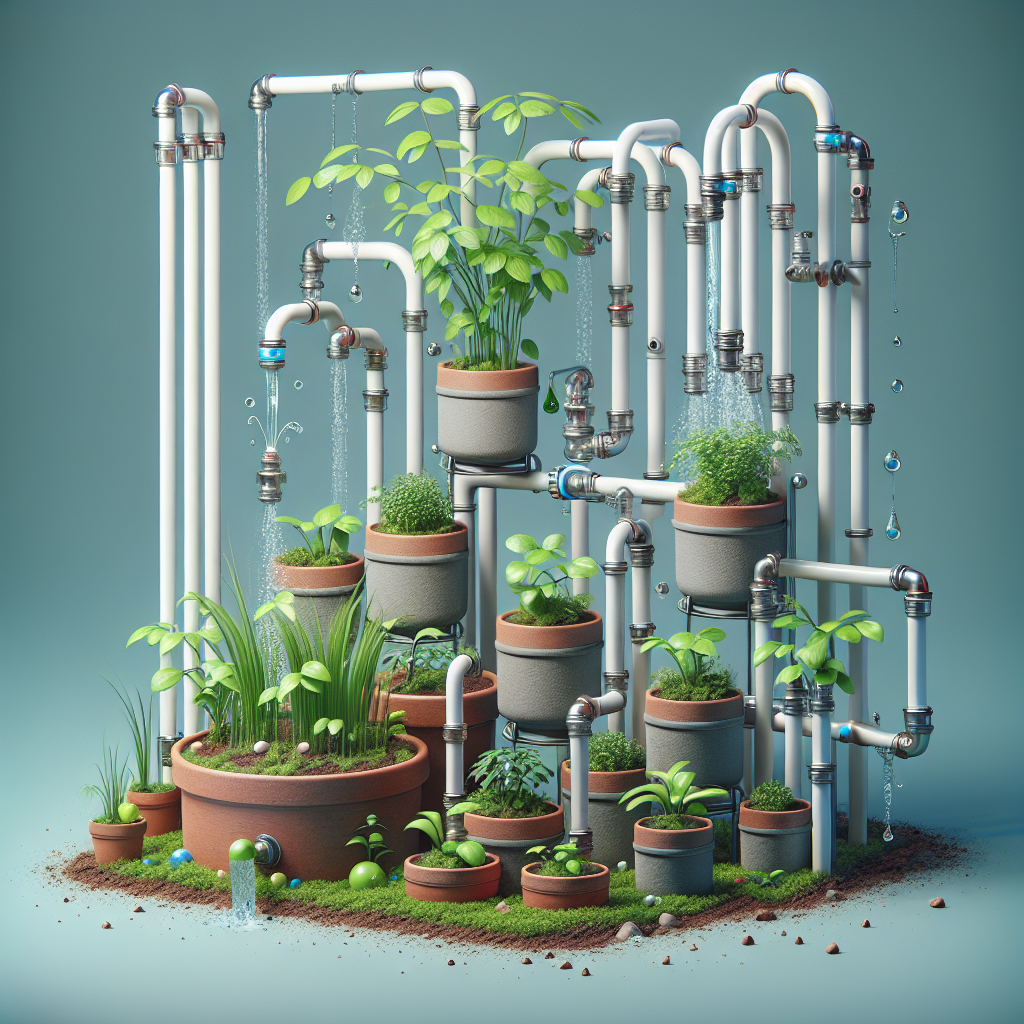
Before you set up a slow drip watering system for your potted plants, you’ll need to gather the necessary equipment. You will need a few key items including:
– Drip irrigation tubing: This tubing is designed to deliver water directly to the base of your plants.
– Emitters: These small devices are attached to the tubing and regulate the flow of water.
– Timer: A timer will allow you to schedule when your plants receive water.
– Hose fittings: These fittings will help connect all the components of your watering system together.
2. Plan Your Layout
Once you have all your equipment ready, it’s important to plan out how you want to set up your slow drip watering system. Take note of where your potted plants are located and determine how many emitters you’ll need for each plant. Make sure that the tubing can reach all of your plants and that there are no kinks or bends that could obstruct water flow.
3. Install Your Tubing
Start by laying out the drip irrigation tubing along the base of your potted plants. Connect all components using hose fittings and secure them in place with stakes or clips. Be sure not to cut any corners or stretch the tubing too tightly as this could cause leaks or breaks in the line.
4. Attach Emitters
Once your tubing is in place, it’s time to attach emitters to deliver water directly to the roots of your plants. Depending on the size and type of plant, you may need multiple emitters per pot. Make sure each emitter is securely attached to the tubing and positioned close to the plant’s base.
5. Set Up Your Timer
To ensure that your plants receive consistent watering, it’s best to use a timer with your slow drip system. Set specific days and times for watering based on individual plant needs. Be mindful of factors like temperature, humidity, and sunlight when determining watering schedules.
6. Test Your System
After setting up your slow drip watering system, be sure to test it out before leaving it unattended. Turn on the water supply and check for leaks or clogs in the tubing or emitters. Adjust flow rates if necessary to ensure that each plant receives an adequate amount of water.
7. Monitor Your Plants
Even with a slow drip watering system in place, it’s important to regularly monitor your potted plants for signs of overwatering or underwatering. Check soil moisture levels by sticking a finger into the soil near each plant – if it feels damp, hold off on watering until it dries out slightly.
By following these steps, you can easily set up a slow drip watering system for your potted plants that will help keep them healthy and thriving year-round. With proper planning and maintenance, this irrigation method can save you time and effort while ensuring optimal growth for all of your beloved greenery.


