

Slow drip irrigation is a highly efficient method of watering crops or plants by delivering water directly to the root zone at a slow and steady rate. This type of irrigation system helps prevent water wastage and ensures that plants receive the right amount of water without causing stress to their roots. Setting up a slow drip irrigation system may seem complicated at first, but with the right tools and knowledge, it can be a relatively simple process. In this article, we will discuss the basics of setting up a slow drip irrigation system.
1. Planning and Designing your System
Before you begin setting up your slow drip irrigation system, it is important to carefully plan and design the layout of your system. Start by measuring the area that needs to be irrigated and determining the water requirements of your plants. Consider factors such as soil type, plant spacing, and slope of the land when designing your system.
Next, decide on the type of emitters you will use in your system. Emitters are small devices that deliver water directly to the roots of plants. There are various types of emitters available, including drip emitters, micro-sprayers, and soaker hoses. Choose emitters that are suitable for your specific needs and plant types.
2. Gathering Materials
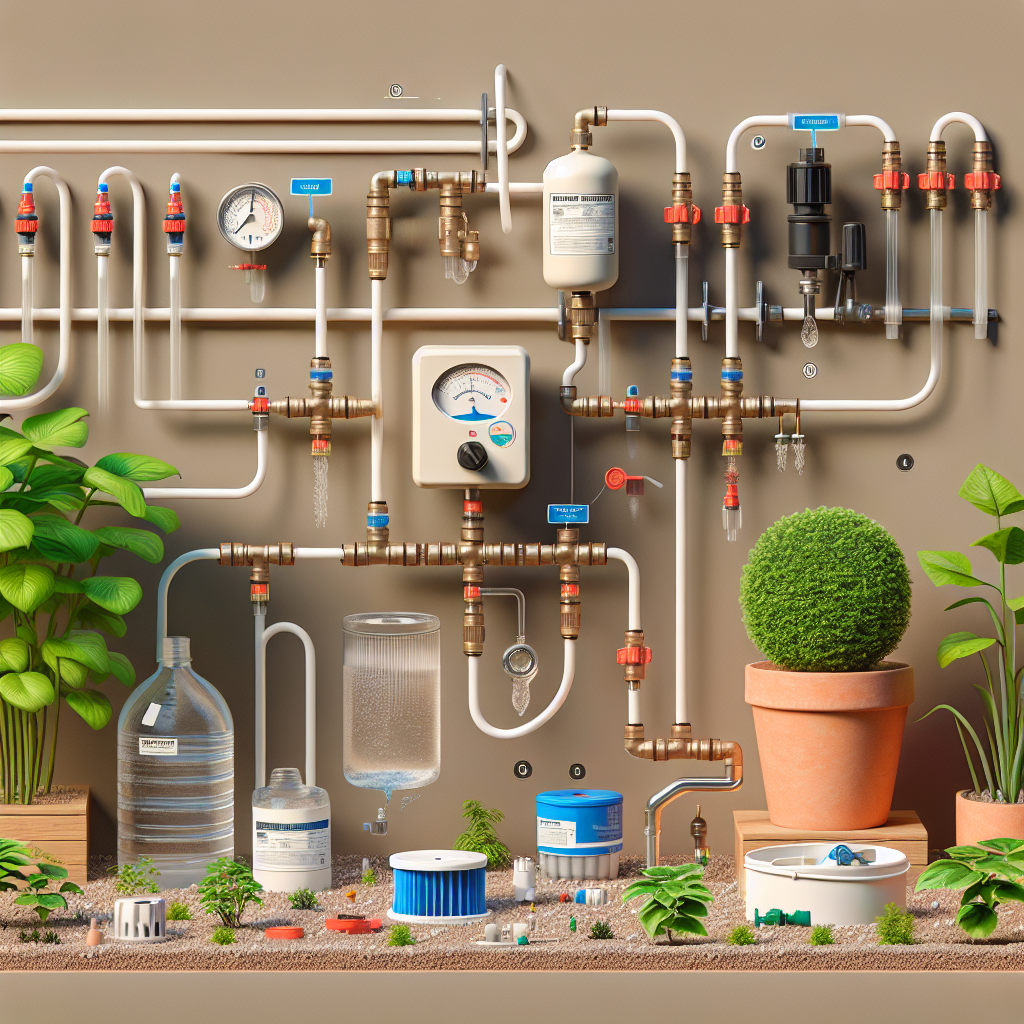
Once you have a plan in place, it is time to gather all the materials you will need to set up your slow drip irrigation system. You will need tubing (usually made from PVC or polyethylene), connectors, emitters, valves, filters, pressure regulators, stakes or supports for tubing, and a timer or controller if you want to automate your watering schedule.
3. Installing Mainline Tubing
The mainline tubing is the backbone of your irrigation system and carries water from its source (such as a faucet or hose bib) to the rest of the distribution network. Begin by connecting one end of the mainline tubing to your water source using a hose bib adapter or other suitable fitting. Lay out the tubing along the perimeter of your garden or field according to your design plan.
4. Installing Sub-mainlines
Sub-mainlines are smaller diameter tubes that branch off from the mainline tubing and deliver water to individual rows or sections within your garden or field. Connect sub-mainlines to the mainline using T connectors or other junction fittings as needed. Lay out sub-mainlines along each row or section according to your design plan.
5. Installing Emitters
Once you have laid out your mainline and sub-mainlines, it is time to install emitters at each plant or group of plants in your garden or field. Secure emitters in place using stakes or supports as needed. Make sure that emitters are placed close enough to plants so that water reaches their roots effectively.
6. Testing and Adjusting
After installing all components of your slow drip irrigation system, it is important to test the system thoroughly before use. Turn on the water supply and check for leaks at all connections and fittings. Adjust flow rates at individual emitters if necessary to ensure that plants receive adequate water without overwatering.
7. Maintenance
Regular maintenance is key to ensuring that your slow drip irrigation system functions properly over time.A few maintenance tasks include checking for clogs in emitters regularly; flushing out lines periodically with clean water; replacing filters as needed; adjusting flow rates as plant needs change; checking for leaks and repairing them promptly; winterizing your system if necessary.Some other maintenances might include inspecting tubing for damage due to UV exposure; replacing damaged components promptly; monitoring soil moisture levels regularly after watering; adjusting watering schedules according.Adhering strictly follow-up soil testing mechanisms based on recommendations made through consulting agricultural experts might also be beneficial for optimum performance.After setting up a slow drip irrigation system correctly,the advantages resulted include reduced labor costs; reduced depletion level on groundwater resources while enhancing bills savings made through lesser reliance on municipal supplies.It also improves overall crop yields through better control over soil moisture levels which results in healthier plants with reduced susceptibility towards pests/diseases.Finally,a well-established conventional farming setup can always be upgraded into precision agriculture setups for better yield outcomes.Butchers ensuring proper schedules are maintained throughout different stages including off-seasons where maintenance activities can be included within intervals ensuring proper live performanace output during peak seasons thereby reducing financial losses/risks associated with crop yields.This optimizes hence overall efficiency output increasing profit margins further leading towards sustainability goals fulfilled aligning with environmental responsibilities concurrently meeting customer satisfaction aiming towards long-term business growth objectives reached successfully going forward therefore helping adherently resulting sustained growth targets achieved sustainably adherently taken way forward eventually achieving targeted operational goals seamlessly adherently undertaken furtherly reaching exceeding business objectives ultimately maximum potential .


