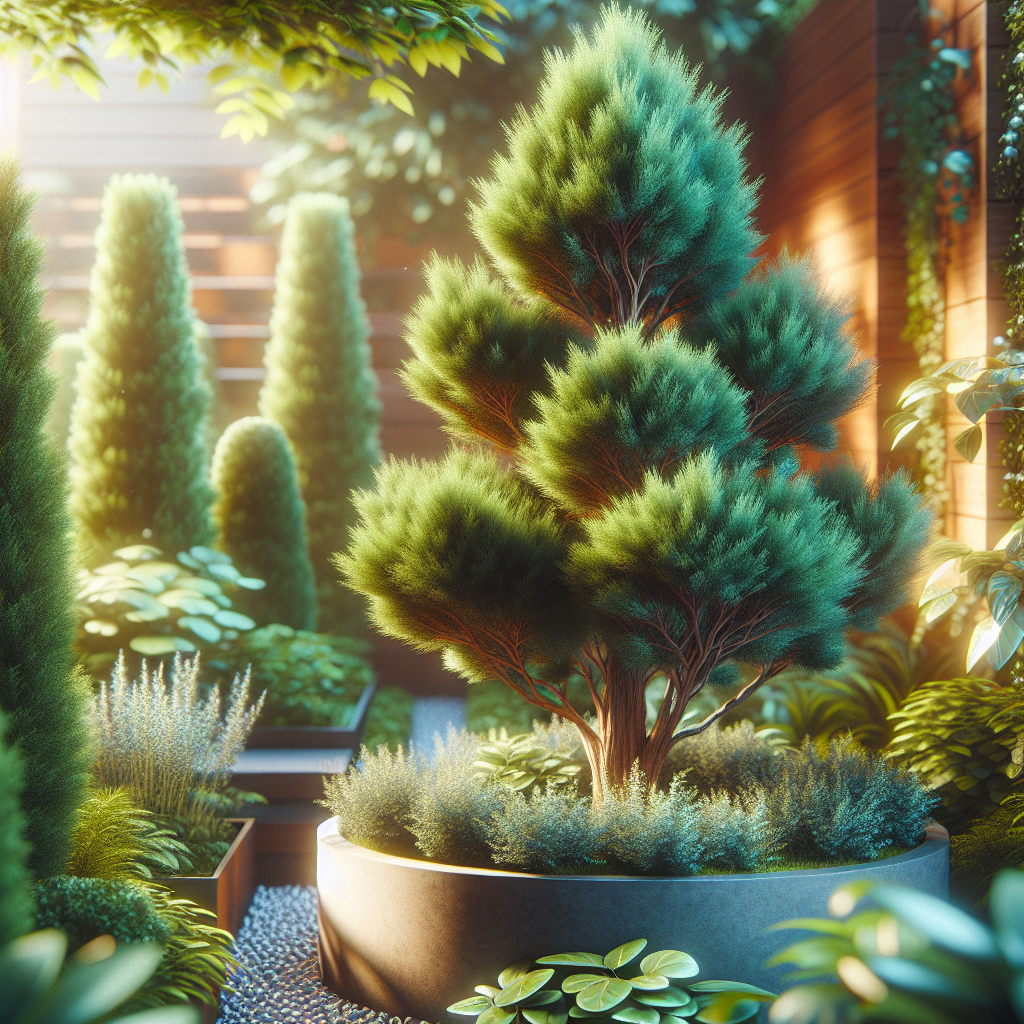
Juniper is a beautiful and versatile plant that is commonly used in landscaping and gardening. With its distinctive blue-green foliage and ability to thrive in a variety of conditions, juniper is a popular choice for many gardeners. And while juniper is often planted directly into the ground, it can also thrive when grown in containers.
Growing juniper in containers can be a great way to add greenery to small spaces, create interesting focal points on a patio or deck, or simply bring the beauty of nature indoors. However, successfully growing juniper in containers requires careful attention to the plant’s specific needs and proper care and maintenance. In this article, we will explore the art of growing juniper in containers and provide tips and guidelines for ensuring your juniper thrives.
Selecting the Right Container
The first step in growing juniper in containers is selecting an appropriate container. Junipers have deep root systems, so it’s important to choose a container that is wide and deep enough to accommodate the plant’s roots. A container that is at least 12 inches deep and has drainage holes at the bottom is ideal for growing juniper.
Additionally, it’s important to choose a container made of a material that will not retain excess moisture, as junipers are susceptible to root rot if their roots sit in waterlogged soil. Terra cotta or glazed ceramic pots are good options for growing junipers, as they allow excess moisture to evaporate through their porous walls.
Choosing the Right Soil
Junipers prefer well-draining soil that is slightly acidic to neutral in pH. When planting juniper in containers, it’s important to use a high-quality potting mix specifically designed for cacti and succulents or outdoor plants. These mixes are typically formulated with perlite or sand to improve drainage and prevent waterlogging.
Planting Your Juniper
Once you have selected an appropriate container and soil, it’s time to plant your juniper. Start by filling the bottom of the container with a layer of gravel or small stones to improve drainage. Next, fill the container about halfway with potting mix.
Carefully remove your juniper from its nursery pot and gently loosen any compacted roots before placing it into the container. Add more potting mix around the roots until they are covered up to where they meet the trunk or stems. Press down lightly on the soil to secure the plant in place.
Watering and Care
Junipers are drought-tolerant plants but still require regular watering when grown in containers. Water your juniper deeply whenever the top inch of soil feels dry to the touch, typically once every 7-10 days depending on weather conditions.
In addition to watering, junipers also benefit from occasional feeding with a balanced fertilizer formulated for outdoor plants during their growing season (typically spring through fall). Follow package instructions for proper dilution and application rates.
Pruning and Maintenance
Junipers are relatively low-maintenance plants but benefit from regular pruning to maintain their shape and promote healthy growth. Prune out any dead or diseased branches as soon as you notice them using sharp pruning shears or scissors.
In addition, periodic thinning can help increase air circulation around your juniper and prevent disease issues such as powdery mildew or fungal infections. Remove any crowded or crossing branches by making clean cuts back to a main stem or branch junction.
Overwintering
In colder climates, overwintering your potted junipers may be necessary to protect them from freezing temperatures. Move your pots into a protected location such as an unheated garage or shed once temperatures drop below freezing consistently at night.
Water your potted junipers sparingly throughout winter months when they are dormant but be sure not to let them dry out completely. Check periodically for signs of pests such as spider mites that may take up residence indoors during cold weather.
Replanting
Eventually, your potted junipers may outgrow their containers or become root-bound after several years of growth. When this happens, it’s time to replant them into larger pots with fresh soil mix.
Carefully remove your juniper from its current pot by gently loosening its roots around the edges with your hands before sliding it out upside down onto a flat surface covered with newspaper or tarpaulin (to catch any loose soil). Prune back any long roots before placing your plant into its new container filled with fresh potting mix.
In conclusion, growing juniper in containers can be both rewarding and enjoyable when done properly following these tips outlined above -selecting an appropriate container,size does matter,the right type of soil,gardening techniques,maintenance steps,it all leads towards creating an aesthetically pleasing garden display throughout all seasons,hence enhancing our living environment inside-outside.
By following these steps,you will ensure that you maximize both beauty benefits,and keep adding value towards quality garden experience through various gardening stages ,while creating beauty display-features within-and outside our living space -to share,enjoy,enrich,and refresh us always,hence cherishing joy from nature close home !


