


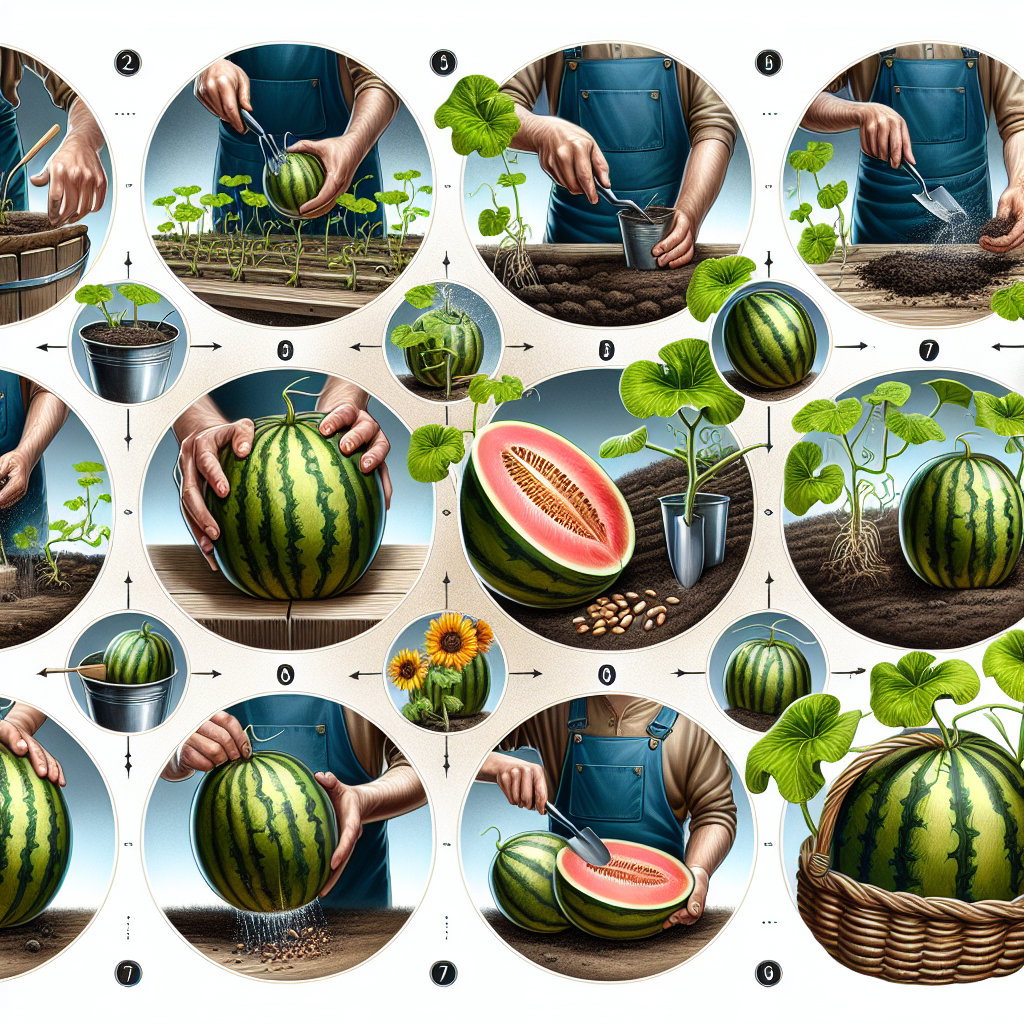
Growing Watermelon at Home: A Complete Guide for Juicy Success
Watermelon is a delicious and refreshing fruit that is perfect for hot summer days. While it is readily available at grocery stores and farmers’ markets, growing your own watermelon at home can be a rewarding experience. Not only will you have access to juicy and flavorful fruit, but you will also have the satisfaction of knowing that you grew it yourself. In this article, we will provide a complete guide to help you successfully grow watermelon in your own backyard.
1. Choosing the Right Varieties:
Before starting your watermelon growing journey, it’s important to select the right varieties that are suitable for your climate and growing conditions. Some popular varieties include Crimson Sweet, Sugar Baby, Charleston Gray, and Jubilee. Consult with local gardening experts or nurseries to determine which varieties are best suited for your specific region.
2. Preparing the Soil:
Watermelons thrive in well-drained soil with a pH level between 6.0 and 6.8. Begin by preparing the soil by removing any weeds or debris. Loosen the soil to a depth of about 12 inches using a garden fork or tiller. Incorporate organic matter such as compost or well-rotted manure to improve soil fertility.
3. Planting Seeds or Seedlings:
Watermelons can be grown from seeds sown directly into the ground or by starting seedlings indoors before transplanting them outside. If starting seeds indoors, sow them in peat pots two weeks before the last frost date for your area. Transplant seedlings outdoors when all danger of frost has passed and when soil temperatures reach around 70°F (21°C).
If planting seeds directly into the ground, wait until the soil has warmed up adequately before sowing them – usually around two weeks after the last frost date.
4. Proper Spacing:
Watermelon plants require enough space to spread out and grow. It’s essential to provide adequate spacing between each plant to ensure they have enough room for their vines to develop. Plant seeds or seedlings at least 3 feet apart in rows that are 6-8 feet apart.
5. Providing Adequate Water:
Watermelons need consistent watering throughout the growing season, especially during hot and dry periods. Ensure you provide enough water so that the soil remains consistently moist but not waterlogged. Deep and infrequent watering is better than frequent shallow watering as it encourages deep root growth.
Mulching around the plants can help conserve moisture, suppress weed growth, and regulate soil temperature. Use organic mulch such as straw, hay, or wood chips and apply it around the base of the plants.
6. Fertilizing:
Watermelons are heavy feeders and require regular fertilization to produce healthy fruit. Before planting, incorporate a balanced fertilizer with equal amounts of nitrogen, phosphorous, and potassium into the soil. Additionally, side-dress the plants with a high-nitrogen fertilizer every three weeks during their growing period.
7. Supporting Vines:
As watermelon vines grow, they can become heavy and need support to prevent them from trailing on the ground where they may be exposed to pests and diseases. Utilize trellises or stakes to provide support for your growing vines.
8. Pest Control:
Common pests that may attack watermelon plants include aphids, cucumber beetles, squash bugs, and spider mites. Monitor your plants regularly and take appropriate measures if you notice any signs of infestation such as yellowing leaves or holes in foliage.
To control pests organically, use insecticidal soaps or neem oil sprays. Alternatively, you can employ natural predators like ladybugs or lacewings to keep pest populations in check.
9. Harvesting Watermelons:
Determining when your watermelons are ready for harvest requires a bit of practice. Generally, watermelons are ripe when they develop a dull skin color, the underside turns creamy yellow, and the tendrils near the fruit stem start to dry out. Additionally, give them a gentle tap – if the sound is hollow, it’s a good indication that they’re ready to be picked.
Cut the watermelon from the vine using sharp scissors or pruning shears, leaving some stem attached to the fruit. Be careful not to damage or bruise the watermelon while harvesting.
10. Storing and Enjoying:
Once harvested, store your watermelons in a cool and dry place for up to two weeks. However, for the best flavor and freshness, it’s recommended to consume them within a few days.
Watermelons are incredibly versatile and can be enjoyed in various ways – sliced on their own, tossed into salads, blended into refreshing smoothies or used as a base for fruity cocktails. The possibilities are endless!
In conclusion, growing watermelon at home can be a fun and rewarding experience that allows you to enjoy fresh and delicious fruit right from your backyard. By following this complete guide, you’ll increase your chances of success in cultivating juicy watermelons that will satisfy your taste buds throughout summer. So why not give it a try? Happy growing!


