
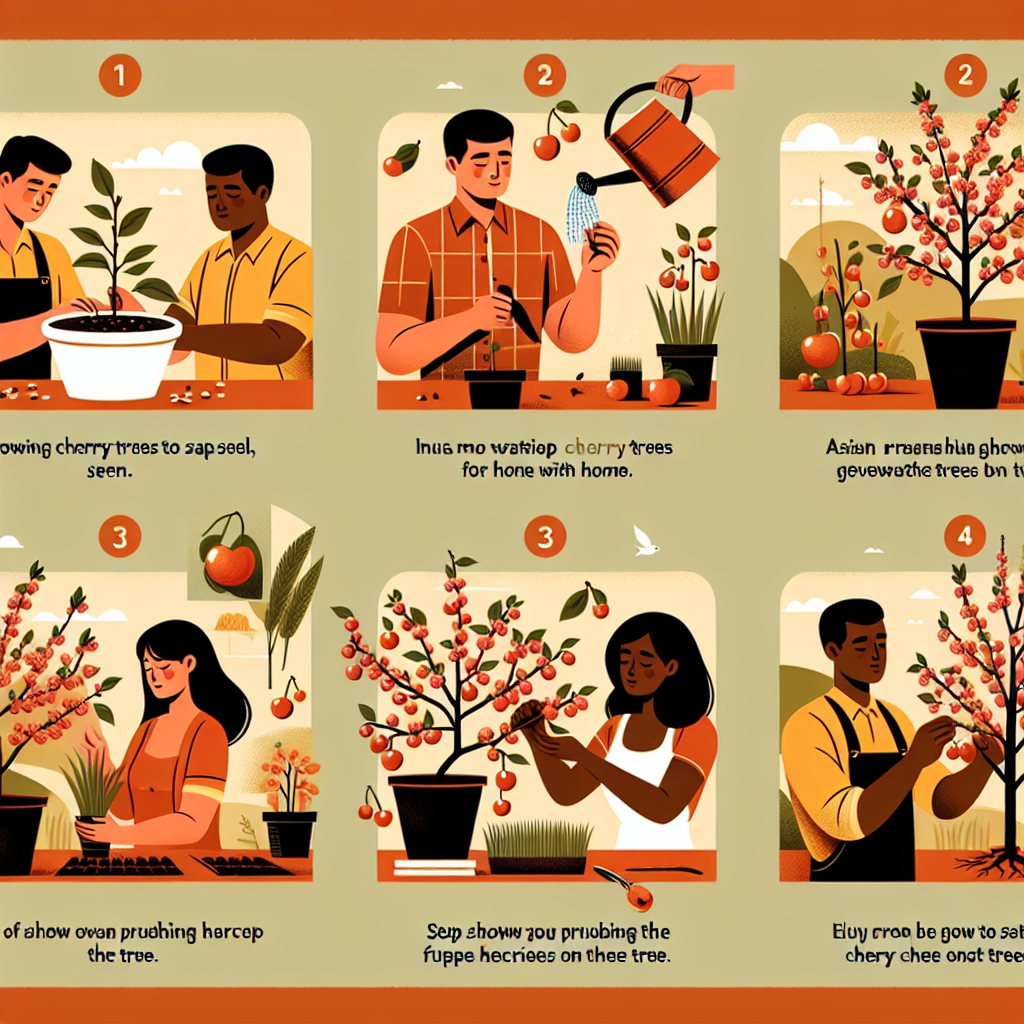

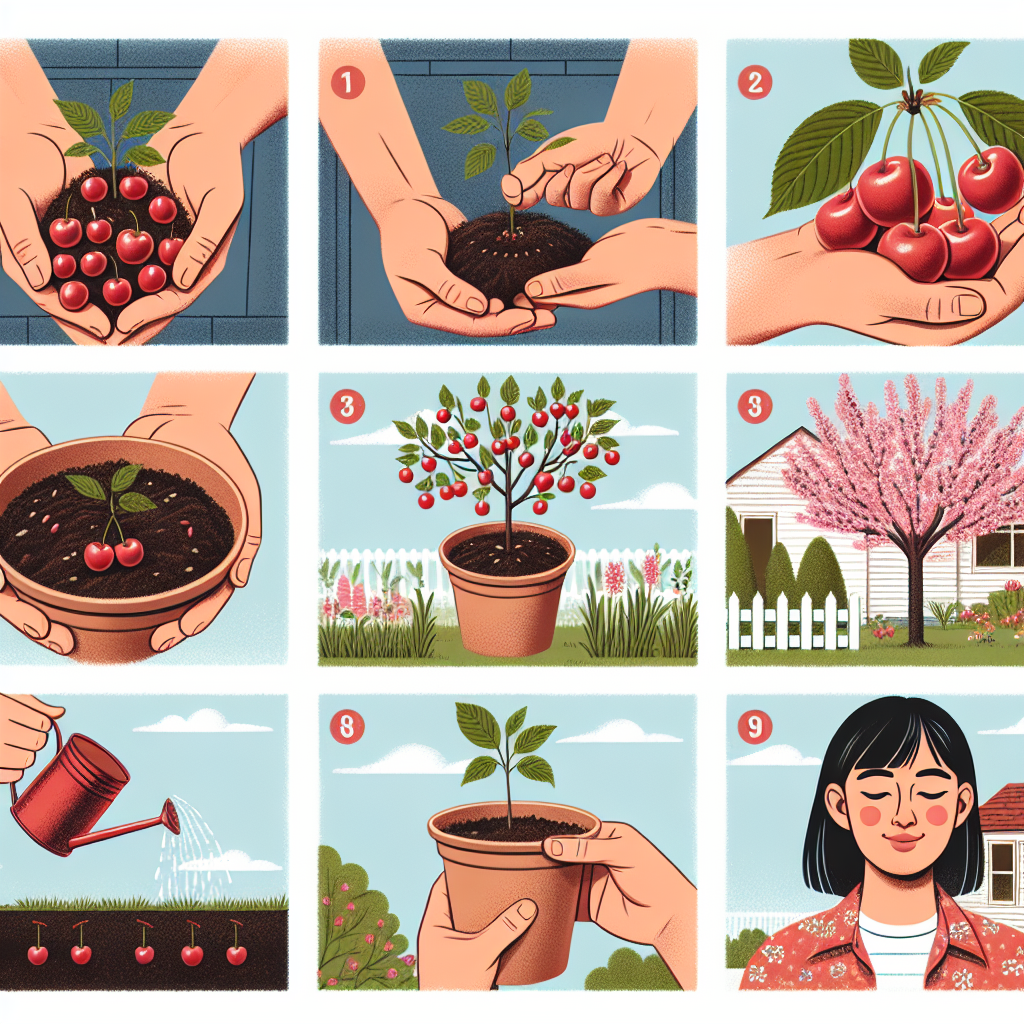
Growing Cherries at Home: A Step-by-Step Guide
Cherries are a delicious and nutritious fruit that can be enjoyed fresh, frozen, or used in a variety of culinary creations. While they are readily available in grocery stores during their peak season, growing cherries at home allows you to savor their flavorful goodness right from your own backyard. In this step-by-step guide, we will walk you through the process of growing cherries at home, so you can enjoy the fruits of your labor.
Step 1: Choosing the Right Cherry Variety
Before starting your cherry-growing journey, it’s essential to select the right variety for your climate and garden space. There are two main types of cherries: sweet cherries (Prunus avium) and sour cherries (Prunus cerasus). Sweet cherries require a more extended growing season and milder climates, whereas sour cherries can tolerate colder temperatures and have a shorter growing season.
Research different cherry varieties suited for your region and make sure to choose disease-resistant ones whenever possible. Some popular sweet cherry varieties include Bing, Rainier, and Stella, while Montmorency is a widely grown sour cherry variety.
Step 2: Finding the Ideal Location
Cherry trees thrive in full sun exposure, preferably receiving six to eight hours of direct sunlight per day. Ensure that the location you choose has well-drained soil to prevent root rot and diseases. Additionally, make sure there is enough space for the tree to grow to its mature size. Cherry trees can range from 12 to 30 feet tall depending on the variety.
Step 3: Preparing the Soil
Preparing the soil before planting is vital for the success of your cherry tree. Start by removing any weeds or grass from the planting area using a garden rake or shovel. Next, loosen the soil with a tiller or garden fork to improve drainage and provide adequate airflow. Incorporate organic matter such as compost or well-rotted manure to enrich the soil with nutrients.
It’s crucial to test the pH level of your soil as cherries prefer slightly acidic conditions, with a pH range of 6.0 to 6.8. If the pH is too high, you can lower it by adding elemental sulfur or peat moss. Conversely, if the pH is too low, you can raise it by incorporating lime into the soil.
Step 4: Planting the Cherry Tree
Late winter or early spring is the best time to plant cherry trees while they are dormant. Dig a hole that is wide and deep enough to accommodate the tree’s root system without bending or crowding them. Place the tree in the hole and backfill with soil, gently firming it around the roots.
Be careful not to bury the graft union, which is a swollen area between the roots and trunk. The graft union should remain above ground level. Water thoroughly after planting and add mulch around the base of the tree to retain moisture and suppress weed growth.
Step 5: Watering and Fertilizing
Cherry trees require regular watering, especially during hot and dry periods. Deep watering once or twice a week is sufficient for established trees. However, be cautious not to overwater as cherries are susceptible to root rot.
Fertilizing your cherry tree will promote healthy growth and fruit production. Apply a balanced fertilizer in early spring before new growth appears and again in late spring or early summer after harvesting fruits. Follow package instructions for dosage based on your specific tree size.
Step 6: Pruning and Training
Proper pruning is essential for maintaining cherry trees’ health, productivity, and shape. Prune your tree during its dormant period in late winter or early spring before buds start swelling.
Start by removing any dead, damaged, or diseased branches using clean pruning shears or loppers. Thin out the center of the tree to improve airflow and sunlight penetration. Additionally, prune any crossing branches that may rub against each other, as they can cause injuries and susceptibility to diseases.
Training your cherry tree to a central leader or modified central leader system will help establish a strong framework for future growth. This involves selecting a main vertical stem (leader) and removing competing branches that grow too close together.
Step 7: Protecting from Pests and Diseases
Cherry trees are susceptible to various pests and diseases, including birds, aphids, tent caterpillars, brown rot, and bacterial canker. To protect your tree from bird damage, consider using netting or scare devices such as shiny objects or plastic owls.
Regularly inspect your cherry tree for signs of pests or diseases and take prompt action if necessary. Horticultural oils or insecticidal soaps can be used for controlling aphids or other small insects. Fungicides labeled for cherries can help prevent fungal diseases like brown rot.
Step 8: Harvesting Cherries
Patience is key when it comes to harvesting cherries as they typically take three to seven years after planting to produce fruit. Sweet cherries are usually ready for harvest in late spring through early summer, while sour cherries ripen a few weeks later.
To check if cherries are ripe, gently squeeze them – they should have a slight give without being too soft. Use sharp pruning shears or scissors to harvest the fruit carefully, leaving a small stem attached. Cherries should be stored in the refrigerator and consumed within a week for optimal freshness.
In conclusion, growing cherries at home is a rewarding experience that allows you to enjoy this delectable fruit right in your backyard. By following these step-by-step guidelines on choosing the right variety, preparing the soil, planting correctly, watering adequately, pruning wisely, protecting from pests and diseases, and harvesting at the right time, you can cultivate your own cherry tree and savor the bountiful harvest for years to come.


